

Approximately half of the world’s websites run on WordPress. With millions of people using WordPress to share information, security is always paramount.
WordPress is easy to use and gives you control over your content and there might be cases where you would like to share content with selected individuals. Perhaps you would like to share a wedding album to your guests or share articles with your subscribers.
How To Password Protect Your WordPress Site’s Content
Whether you want to protect your whole website or restrict users, you can DIY security by following these simple steps.
Protecting A Post Or Page
You can protect a post or page on a WordPress site by installing plugins. WordPress packs functionality that lets you control information that you share with visitors.
You can password protect a post or page by following these steps.
- Go to: Posts > All Posts from the dashboard.
- Find the post you want to protect and open it using Edit.
- Go to the right sidebar to the Publish section then click the Edit link.
- There Should be 3 different options: public, private and password protected.
- Click password protected and enter a password. Once you’re done click the OK button to proceed.
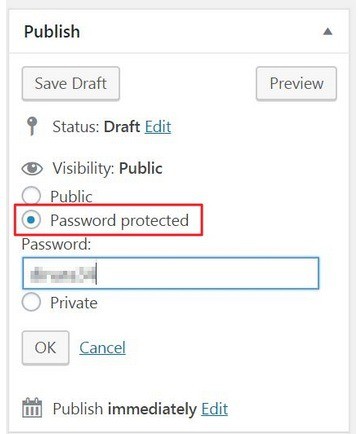
This post will now be visible only to users who enter the password you set.
Password Protecting Parts Of A Page Or Post
The Passater Plugin is the easiest way to restrict user access to a portion of a post or page.
Activate the plugin and then put a shortcode before and after the content block you’d like to restrict access to. Whenever someone wants to view the post, they will have to enter the password you set on the password protected content.
To activate Passater:
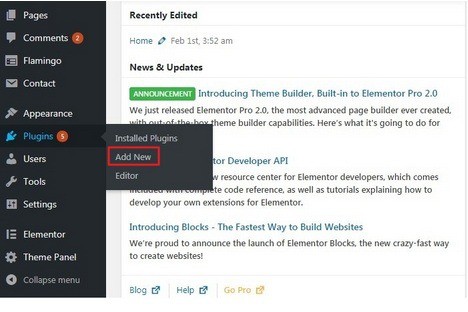
- Go to Plugins > Add New
- Search for Passater plugin. Click it once it shows up in the results.
- Click on the Install Now button to install to your site.
- After it’s done installing, click Activate button.
- Open the post you would like to password protect. Select the chunk of text you want to protect.
- Select Content Protector Shortcode option that’s added to the text editor.
- A popup window should prompt you to enter a password.
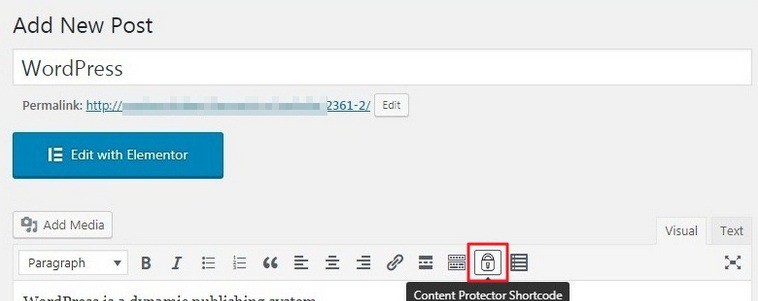
- Enter the password you’d like to use to restrict access to your content and click the INSERT SHORTCODE button to proceed.
- The chunk of content you selected should be wrapped around the shortcode and should look something like this:
[content_protector password=”your-password”]Your password protected content here.[/content_protector].
- Click the Update (or Publish) button to save changes.
Protecting A Category Of Posts
You can also password protect a category of posts.
- Start by using Access Category Password plugin to restrict user access to a specific category of posts.
- Go to your website admin panel and go to Plugins > Add New.
- Search for Access Category Password plugin. Once it shows up click Install.
- After installing, click Activate.
- Hover over Settings in the sidebar menu, and click on the Access Category Password option in the sub-menu.

- You will be redirected to the Access Category Password settings page.
- Enter desired password and set categories of posts you want to protect using the Impacted categories option.
Once you save changes, the category of posts you selected should be password protected.
Password Protecting Your Entire Site
To password protect your entire site; use the Password Protected plugin for WordPress.
- Go to Plugins > Add New.
- Search for the Password Protected plugin. Once it shows up in the search results, click on the Install Now button to install it to your website.
- Activate after installing.
- Go to Settings and click Password Protected. You will be redirected to the Password Protected Settings page.
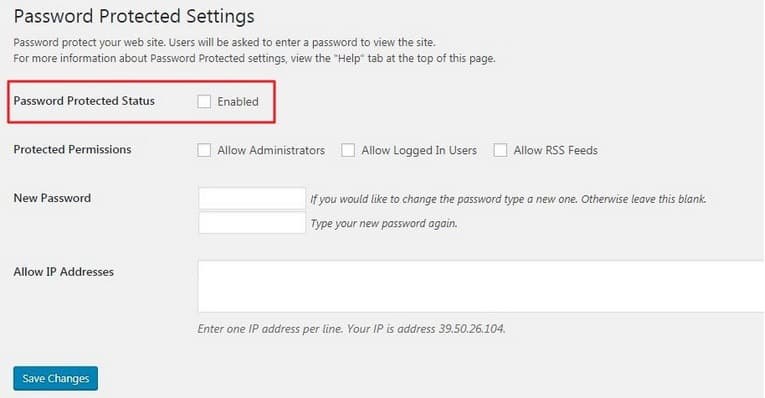
You are now presented with some options.
- To protect your entire site: tick the Enable checkbox in front of the Password Protect Status option.
- Ticking the Protected Permissions option allows selected visitors to access your website without having to enter a password.
- To allow specific users to access your website without permission simply enter their IP addresses in the text box in Allow IP Addresses text box to whitelist them.
Website owners and e-commerce site owners will find themselves in situations where they will need to password protect certain content on their website. Knowing that they have this option will help them keep their content and website safe.
Is your website password protected? What do you think are the benefits of password protecting a website or its content? Tell us by leaving your comments below.
