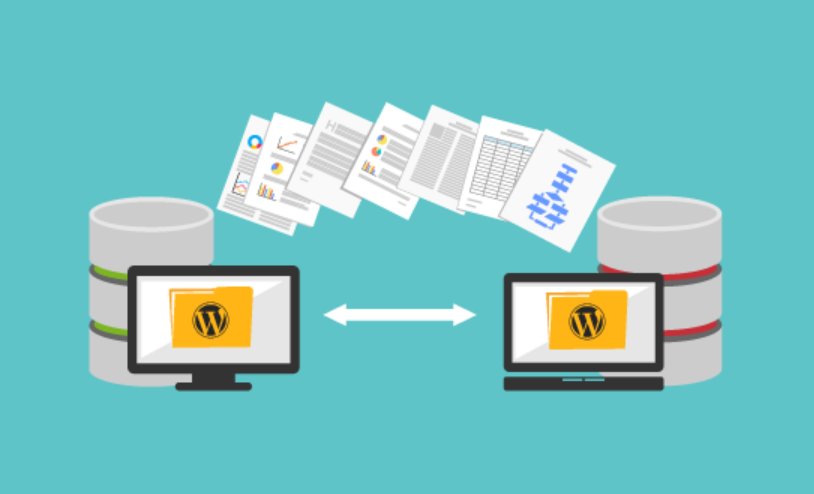
Migrating a WordPress site may seem daunting, but it can be a smooth and hassle-free process with the right approach and tools. Whether moving your site to a new hosting provider, a different domain, or a staging environment, proper planning and execution are essential to ensure a seamless transition without disrupting your website’s functionality or SEO performance.
How to Easily Migrate Your WordPress Site
Here is a comprehensive guide step-by-step process of quickly migrating your WordPress site.
Step 1: Backup Your WordPress Site
Before you embark on the migration process, creating a complete backup of your WordPress site is crucial. This ensures a safety net if anything goes wrong during the migration. You can use a backup plugin like UpdraftPlus or BackupBuddy to quickly create a backup of your site’s files and database.
Step 2: Choose a Migration Method
There are several methods you can use to migrate your WordPress site, depending on your specific needs and technical expertise:
- Manual Migration:
- Export your site’s content, including posts, pages, comments, and media files, from the WordPress dashboard.
- Transfer the WordPress files to the new server using FTP or file manager.
- Import the exported content to the new WordPress installation.
- Update the site’s database settings if necessary.
- Plugin-Based Migration:
- Install and activate a migration plugin like Duplicator, All-in-One WP Migration, or Migrate Guru.
- Follow the plugin’s prompts to create a backup of your site and transfer it to the new location.
- Some plugins offer one-click migration options, making the process even simpler.
- Automated Hosting Migration:
- Many hosting providers offer automated migration services for WordPress sites.
- Check if your new hosting provider provides this service and follow their instructions to initiate the migration.
Choose the method that best suits your technical skills and requirements.
Step 3: Prepare Your New Hosting Environment
Before migrating your WordPress site, ensure that your new hosting environment meets the necessary requirements and is properly configured. This includes:
- Installing WordPress on the new server.
- Setting up the domain or subdomain where you’ll be migrating your site.
- Configuring server settings such as PHP version, database credentials, and file permissions.
Step 4: Perform the Migration
Once you’ve chosen a migration method and prepared your new hosting environment, it’s time to execute the migration:
- If you’re using a plugin-based migration, follow the plugin’s instructions to export and import your site’s content.
- For manual migration, carefully transfer your site’s files and database to the new server, ensuring that all file paths and URLs are updated.
- If you’re using an automated hosting migration service, initiate the migration process and follow the provider’s instructions.
Step 5: Test and Troubleshoot
After migrating your WordPress site, thoroughly test its functionality to ensure that everything is working as expected. This includes:
- Checking all pages, posts, media files, and links to ensure they’re accessible.
- Testing forms, e-commerce functionality, and any other interactive elements.
- Verifying that your site’s design and layout remain intact.
If you encounter any issues during testing, troubleshoot them promptly to minimize downtime and ensure a smooth user experience.
Step 6: Update DNS and Redirects
Once you’re satisfied that your migrated WordPress site is functioning correctly, update your domain’s DNS settings to point to the new hosting server. Additionally, set up any necessary redirects to ensure that visitors are automatically directed to the correct URLs.
Step 7: Monitor and Optimize
After completing the migration process, monitor your site’s performance and user experience. Look for any potential issues or errors and address them promptly. Additionally, use tools like Google Search Console to monitor your site’s SEO performance and ensure that your rankings aren’t negatively impacted by the migration.
Conclusion
In conclusion, migrating your WordPress site can be a smooth process. Following the steps outlined in this guide and choosing the proper migration method for your needs, you can quickly transfer your site to a new location without any headaches. With appropriate planning, execution, and testing, you can ensure a seamless transition and maintain the integrity of your website throughout the migration process.


